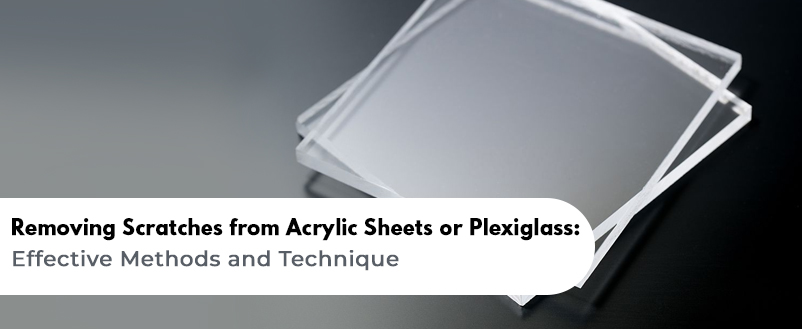
Acrylic sheet, also known as plexiglass, is a versatile and widely used material in various industries. Its transparency, durability, and lightweight nature make it a popular choice for applications such as windows, signage, displays, and protective barriers. Dubai is a global hub for trade and commerce, the demand for these sheets is growing and there are a plethora of skilled acrylic fabricators in Dubai. However, over time, sheets can develop scratches, diminishing their aesthetic appeal and functionality. In this blog, we will explore effective methods and techniques to remove scratches from acrylic sheets, ensuring a pristine and scratch-free surface.
Table of Content
How to address scratches on Acrylic Sheet
To effectively address scratches on acrylic sheets, it is essential to have a comprehensive understanding of the material itself. An acrylic sheet is a type of thermoplastic that is manufactured by polymerizing methyl methacrylate (MMA) or other acrylic derivatives. It is often used as an alternative to glass due to its excellent clarity and impact resistance. Additionally, acrylic sheets can be easily shaped, bent, and formed, making them highly versatile for various applications.
Before diving into the removal methods, it is crucial to identify and assess the scratches present on the acrylic sheet. Visual inspection is the first step in determining the severity of the scratches. Light surface-level scratches may be barely noticeable, while deeper scratches can be more apparent and may even catch on your fingernail.
Surface-level scratches Vs Deep scratches on Acrylic Sheet
Differentiating between surface-level scratches and deep scratches is important because the removal techniques vary. Surface-level scratches often have a whitish appearance and can typically be addressed with simpler methods. On the other hand, deep scratches penetrate the surface, making them more challenging to remove and requiring additional steps.
Necessary materials and tools
Before stepping into the scratch removal process, it is essential to gather the required materials and tools. You will need:
- Microfiber cloths
- Toothpaste (non-gel)
- Baking soda
- Water
- Acrylic scratch remover kit (commercially available)
- Acrylic adhesive
- Sandpaper (ranging from coarse to fine grits)
- Polishing compound
- Protective coatings or films
Important pre-preparation for successful scratch removal
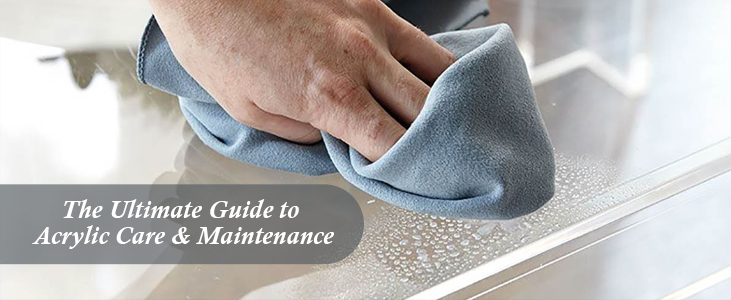
To ensure a successful scratch-removal process, it is crucial to work in a clean and well-ventilated area. Place a soft cloth or mat underneath the acrylic sheet to protect it from any accidental damage. Clean the acrylic sheet before starting the removal process. Before proceeding with scratch removal, it is important to clean the surface thoroughly. Gently wipe the sheet with a microfiber cloth dampened with mild soap and water. Avoid using harsh chemicals or abrasive materials that could further damage the surface.
Methods for Removing Surface-Level Scratches
1. Toothpaste and Microfiber Cloth:
Step-by-step instructions:
- Apply a small amount of non-gel toothpaste directly onto the scratched area.
- Using a microfiber cloth, rub the toothpaste onto the scratch in a circular motion for 2-3 minutes.
- Rinse the surface with water and wipe it dry with a clean cloth.
- Assess the results and repeat the process if necessary.
How toothpaste works:
Toothpaste contains mild abrasive properties that help buff out surface-level scratches on acrylic sheets. The gentle rubbing motion with a microfiber cloth helps distribute the toothpaste evenly, gradually reducing the appearance of the scratch.
Precautions and limitations:
- The toothpaste method is suitable for minor surface-level scratches.
- Avoid using gel toothpaste or those containing harsh additives, as they may cause further damage.
- Test the toothpaste on a small inconspicuous area before applying it to the scratched surface to ensure compatibility.
2. Baking Soda and Water:
Step-by-step instructions:
- Create a paste by mixing baking soda with a small amount of water.
- Apply the paste to the scratch using a microfiber cloth.
- Gently rub the paste onto the scratch in a circular motion for 2-3 minutes.
- Rinse the surface with water and wipe it dry with a clean cloth.
- Assess the results and repeat the process if needed.
How baking soda aids in scratch removal
Baking soda, with its mild abrasive properties, can help diminish the appearance of surface-level scratches on acrylic sheets. When combined with water, it forms a paste that gently polishes the surface.
Precautions and limitations:
- The baking soda method is suitable for minor scratches.
- Avoid excessive pressure while rubbing, as it may worsen the scratch or cause additional damage.
- Test the baking soda paste on a small inconspicuous area before applying it to the scratched surface.
3. Acrylic Scratch Remover Kit:
Acrylic scratch remover kits contain specialized compounds and materials designed to remove scratches from acrylic surfaces. These kits often include multiple steps and may vary depending on the manufacturer.
Step-by-step instructions for using a kit:
- Read and follow the instructions provided with the kit carefully.
- Typically, the kit will include a compound or solution that needs to be applied to the scratched area.
- Use a microfiber cloth or applicator to spread the compound in a circular motion.
- Follow the manufacturer’s recommendations for buffing or polishing the surface.
- Rinse the surface with water and wipe it dry with a clean cloth.
Benefits and limitations of using a kit:
- Acrylic scratch remover kits are specifically formulated for scratch removal and may provide optimal results.
- Kits often come with detailed instructions and the necessary materials for a comprehensive scratch-removal process.
- Some kits may not be suitable for deep or severe scratches, requiring alternative methods.
Techniques for Dealing with Deep Scratches
1. Filling deep scratches with acrylic adhesive:
Step-by-step instructions:
- Clean the scratched area thoroughly and ensure it is dry.
- Apply a small amount of acrylic adhesive to the scratch, filling it.
- Use a plastic scraper or a level-edged tool to remove excess adhesive and level it with the surface.
- Allow the adhesive to cure completely as per the manufacturer’s instructions.
- Once cured, gently sand the area using progressively finer grit sandpaper.
- Polish the surface with a polishing compound to achieve a smooth finish.
Select an acrylic adhesive specifically designed for filling deep scratches. This ensures compatibility with the acrylic sheet and promotes seamless repair.
Precautions and limitations:
- Filling deep scratches with adhesive is suitable for significant scratches that cannot be resolved with surface-level methods.
- Take caution when sanding to avoid creating additional scratches.
- Follow safety guidelines provided by the adhesive manufacturer.
2. Sanding and Polishing:
Step-by-step instructions for sanding and polishing:
- Start with coarse-grit sandpaper (e.g., 400-grit) and sand the scratched area using light pressure in a circular motion.
- Gradually progress to finer grit sandpaper (e.g., 800-grit, 1200-grit) and repeat the sanding process.
- After sanding, clean the surface and ensure it is dry.
- Apply a small amount of polishing compound to a soft cloth and buff the sanded area in circular motions.
- Continue polishing until the surface appears smooth and scratch-free.
What is the sanding process:
Sanding involves gently abrading the surface to level it with the deepest point of the scratch, gradually reducing its visibility.
Importance of gradually progressing through different grits:
Starting with coarse grit sandpaper removes the majority of the scratch while using finer grits helps refine the surface and minimize visible abrasions.
Polishing techniques for achieving a smooth, scratch-free surface: Using a polishing compound after sanding helps restore the shine and clarity of the acrylic sheet. Buffing in circular motions distributes the compound evenly for optimal results.
Preventive Measures for Future Scratches
1. Proper cleaning and maintenance techniques: Regularly clean acrylic surfaces with a microfiber cloth and mild soap to remove dust and debris. Avoid using abrasive materials or harsh chemicals that could scratch or damage the surface.
2. Using protective coatings or films: Consider applying protective coatings or films specifically designed for acrylic surfaces. These add a section, reducing the risk of scratches.
3. Avoiding abrasive materials and harsh chemicals: When cleaning or handling acrylic sheets, avoid using abrasive materials, such as rough sponges or paper towels. Additionally, steer clear of harsh chemicals that may react with or damage the surface.
Conclusion
Maintaining a scratch-free acrylic sheet or plexiglass surface enhances its aesthetic appeal and longevity. By following the methods and techniques discussed in this guide, you can effectively remove surface-level and deep scratches from acrylic sheets. Remember to take preventive measures, such as proper cleaning, applying protective coatings, and avoiding abrasive materials, to minimize the risk of future scratches. With a little care and attention, your acrylic sheets will retain their pristine appearance for years to come. Acrylic company in Dubai manufactures top-notch quality acrylic sheets that are customised to clients’ demands.


